


How to Configure Tax in WooCommerce for any Country?
Setting up taxes in WooCommerce can be confusing — especially when you sell internationally across Europe, the UK, and the US. This guide explains how to configure specific tax setup method step-by-step so you can charge the correct VAT, GST, or sales tax depending on your customers’ location.
Whether your store is based in the European Union, United Kingdom, or United States, these examples will help you create accurate tax rules while keeping your checkout experience transparent and compliant.
Note: These configurations apply to how WooCommerce calculates taxes — not which taxes you are legally required to collect. Always confirm your setup with a qualified tax advisor.

Scenario 1: Charge the Same Tax Rate as Your Store Address
This setup is perfect for stores that only sell domestically — for example, a UK-based shop charging a flat 20% VAT to all customers.
Steps to Configure
Step 1 – General Settings
- Go to WooCommerce → Settings → General.
- Set your Store Address (e.g., London, United Kingdom).
- Under “Default Customer Location,” select Shop country/region.
- Check Enable tax rates and calculations.
- Click Save changes.

Step 2 – Tax Options
- Go to WooCommerce → Settings → Tax → Tax Options.
- Set Prices entered with tax to Yes, I will enter prices inclusive of tax.
- Choose Calculate tax based on → Shop base address.
- Set Display prices in the shop to Including tax.
- Set Display prices during checkout to Including tax.
- Save changes.
Step 3 – Tax Rates
- Click Standard rates.
- Add a new row:
- Country Code:
GB - Rate %:
20 - Tax Name:
VAT
- Country Code:
- Save changes.
Outcome: All customers see and pay the same tax-inclusive prices across your store.

Scenario 2: Charge VAT to Certain EU Countries Only
Ideal for stores selling across the EU, where VAT rates vary by country. Example: UK 20%, France 20%, Germany 19%.
Steps to Configure
Step 1 – General Settings
- Go to WooCommerce → Settings → General.
- Set your store’s base address (e.g., Manchester, UK).
- Enable tax rates and calculations.
- Save changes.
Step 2 – Tax Options
- Go to WooCommerce → Settings → Tax → Tax Options.
- Set Prices entered with tax to No, I will enter prices exclusive of tax.
- Choose Calculate tax based on → Customer shipping address.
- Set Display prices in the shop to Excluding tax.
- Display prices during checkout Excluding tax.
- Save changes.

Step 3 – Tax Rates
- Go to Standard Rates and add:
| Country | Rate % | Tax Name |
|---|---|---|
| GB | 20 | VAT |
| FR | 20 | TVA |
| DE | 19 | MwSt |
- Save changes.
Outcome:
- Customers in the UK, France, or Germany are charged their country’s VAT.
- Customers outside the EU see tax-exclusive prices.

Scenario 3: Different Tax Rules for U.S. States or ZIP Codes
For U.S.-based stores, taxes often vary by state or even ZIP code. Example: California 7% + Beverly Hills ZIP 90210 adds 2% extra.
Steps to Configure
Step 1 – General Settings
- Go to WooCommerce → Settings → General.
- Set your Store Address to California, USA.
- Select Default customer location → No location by default.
- Enable tax rates and calculations.
- Save changes.

Step 2 – Tax Options
- Go to WooCommerce → Settings → Tax.
- Set Prices entered with tax to No, I will enter prices exclusive of tax.
- Calculate tax based on Customer shipping address.
- Display prices Excluding tax.
- Display tax totals as Itemized.
- Save.
Step 3 – Tax Rates
| Country | State | ZIP | Rate % | Tax Name | Priority |
|---|---|---|---|---|---|
| US | CA | 7 | CA Tax | 1 | |
| US | 90210* | 2 | BH Tax | 2 | |
| US | 6 | U.S. Tax | 1 |
Outcome:
- California customers pay 7%.
- Beverly Hills customers pay 9% total.
- Other U.S. states pay 6%.
Scenario 4: Apply Highest Rate for Shipping
If your products have multiple tax classes, WooCommerce uses the highest additional tax class for shipping when no standard rate is present.
Steps to Configure
- Go to WooCommerce → Settings → Tax → Tax Options.
- In “Additional tax classes,” add:
Tax A Tax B Tax C - Save changes — these appear as new tabs.
- In Tax A, set rate to 25% (highest).
- In Tax B, set rate to 15%.
- In Tax C, set rate to 10%.
- Save each.
Outcome:
If no Standard rate applies, WooCommerce automatically uses Tax A (25%) for shipping.
Scenario 5: Tax Physical Goods in One Country, Virtual Goods Globally
This is common for digital product stores (software, e-books, etc.) that must collect tax worldwide.
Steps to Configure
Step 1 – General Settings
- Store Address: Kentucky, USA.
- Default location: No location by default.
- Enable tax rates and calculations.
- Save changes.
Step 2 – Tax Options
- Add a new Additional Tax Class: Virtual Goods.
- Set Prices entered with tax → No.
- Calculate tax based on Customer shipping address.
- Display prices excluding tax.
- Save changes.
Step 3 – Tax Rates
- In Standard rates:
- Country: US
- State: KY
- Rate: 6%
- Tax Name: KY Tax
- In Virtual Goods rates:
- Country: (leave blank — applies globally)
- Rate: 6%
- Tax Name: Virtual Tax
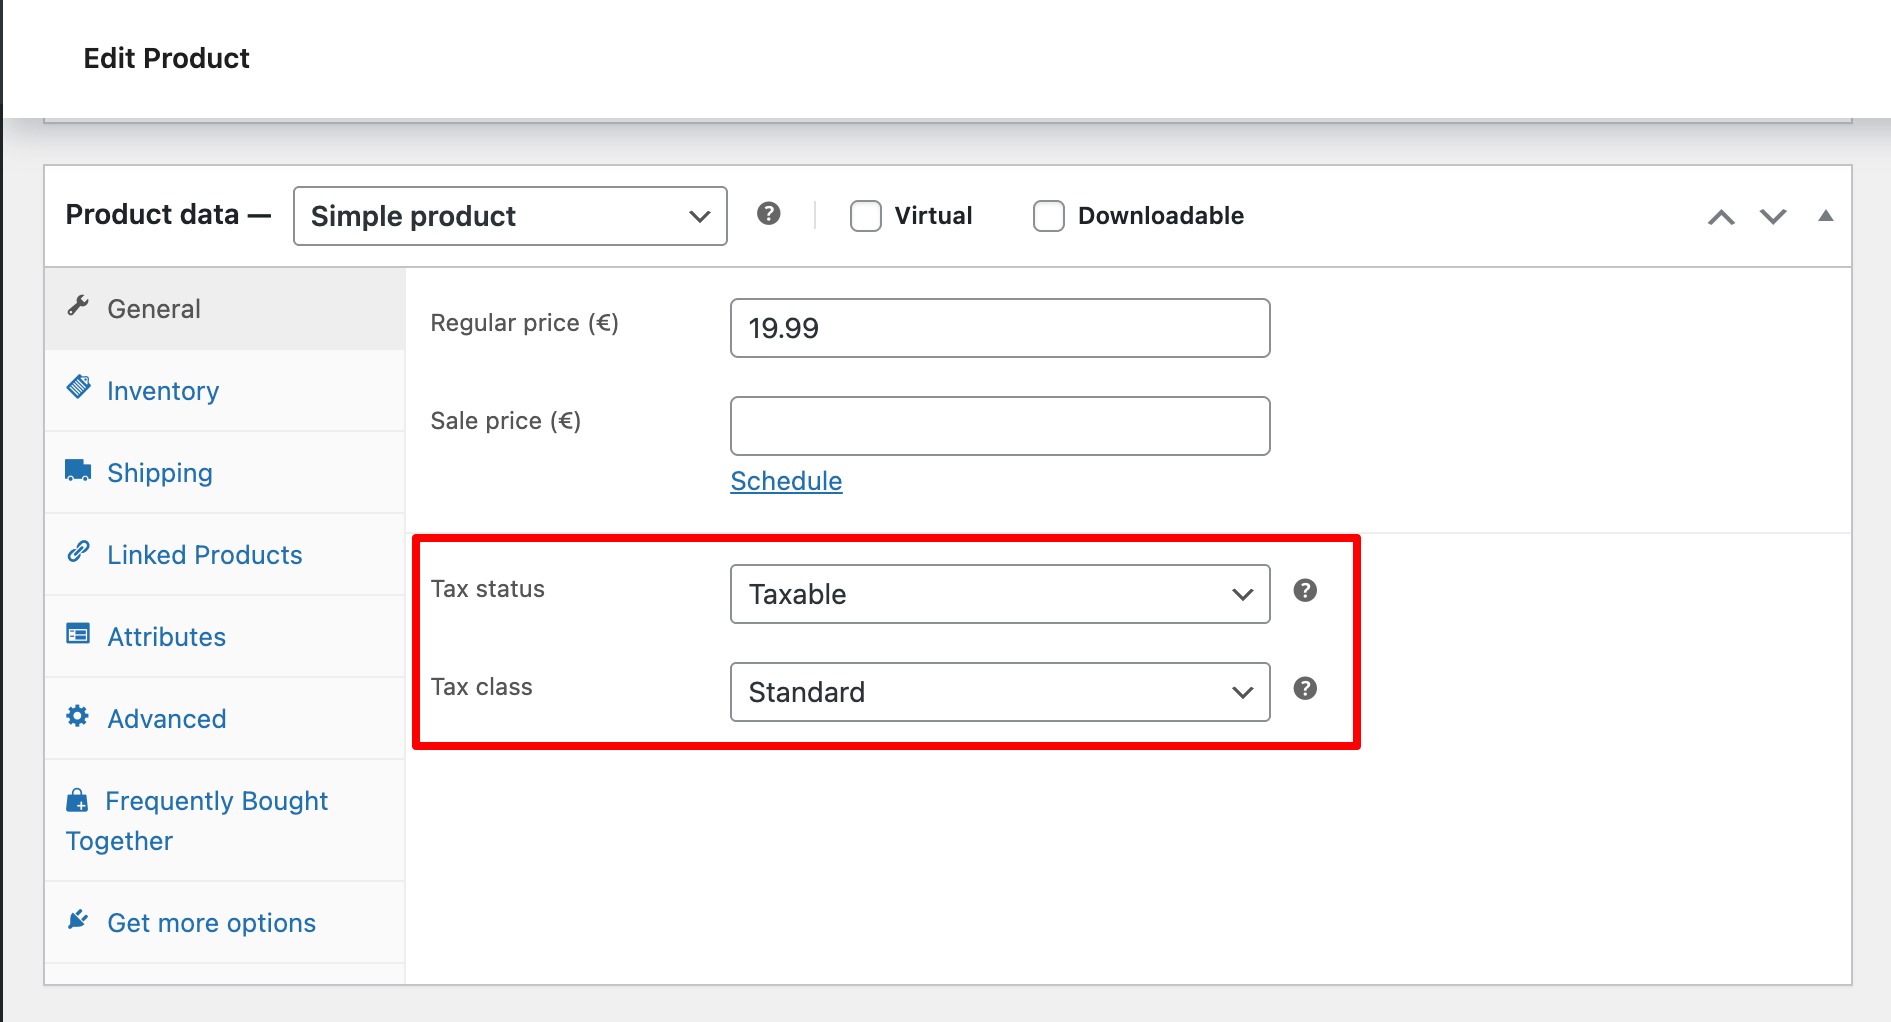
Step 4 – Product Settings
- For physical goods → keep Standard rates.
- For digital products → assign Virtual Goods tax class.
Outcome:
- Kentucky-based orders → 6% for all goods.
- Other regions → only virtual products taxed.
Pro Tips for Managing WooCommerce Taxes
- Always enable geolocation for automatic tax calculation.
- Use plugins like EU/UK VAT Manager or TaxJar for compliance.
- Regularly update tax tables — EU VAT rates may change annually.
- Test multiple addresses in checkout to confirm correct rates.
Conclusion
Configuring taxes in WooCommerce doesn’t need to be difficult. With the right setup for your region — whether it’s the EU, UK, or US — you can ensure compliance and create a seamless shopping experience.
Taking time to set up correct tax rules builds trust, prevents legal issues, and ensures your customers always see transparent, accurate pricing.
Configure Tax in WooCommerce for any Country EU UK US and Globally