


“`html
body { font-family: -apple-system, BlinkMacSystemFont, “Segoe UI”, Roboto, Helvetica, Arial, sans-serif, “Apple Color Emoji”, “Segoe UI Emoji”, “Segoe UI Symbol”; line-height: 1.6; color: #333; margin: 0 auto; max-width: 900px; padding: 20px; }
h1, h2, h3 { color: #222; margin-top: 1.5em; margin-bottom: 0.8em; }
h1 { font-size: 2.2em; }
h2 { font-size: 1.8em; border-bottom: 1px solid #eee; padding-bottom: 0.3em; }
h3 { font-size: 1.4em; }
p { margin-bottom: 1em; }
ul { margin-bottom: 1em; padding-left: 25px; }
li { margin-bottom: 0.5em; }
a { color: #0073aa; text-decoration: none; }
a:hover { text-decoration: underline; }
code { background-color: #f4f4f4; padding: 2px 4px; border-radius: 4px; font-family: monospace; }
pre { background-color: #f4f4f4; padding: 15px; border-radius: 5px; overflow-x: auto; margin-bottom: 1em; }
.note { background-color: #e6f7ff; border-left: 5px solid #0073aa; padding: 15px; margin-bottom: 1em; border-radius: 4px; }
.tip { background-color: #f0fff4; border-left: 5px solid #28a745; padding: 15px; margin-bottom: 1em; border-radius: 4px; }
.warning { background-color: #fff3cd; border-left: 5px solid #ffc107; padding: 15px; margin-bottom: 1em; border-radius: 4px; }
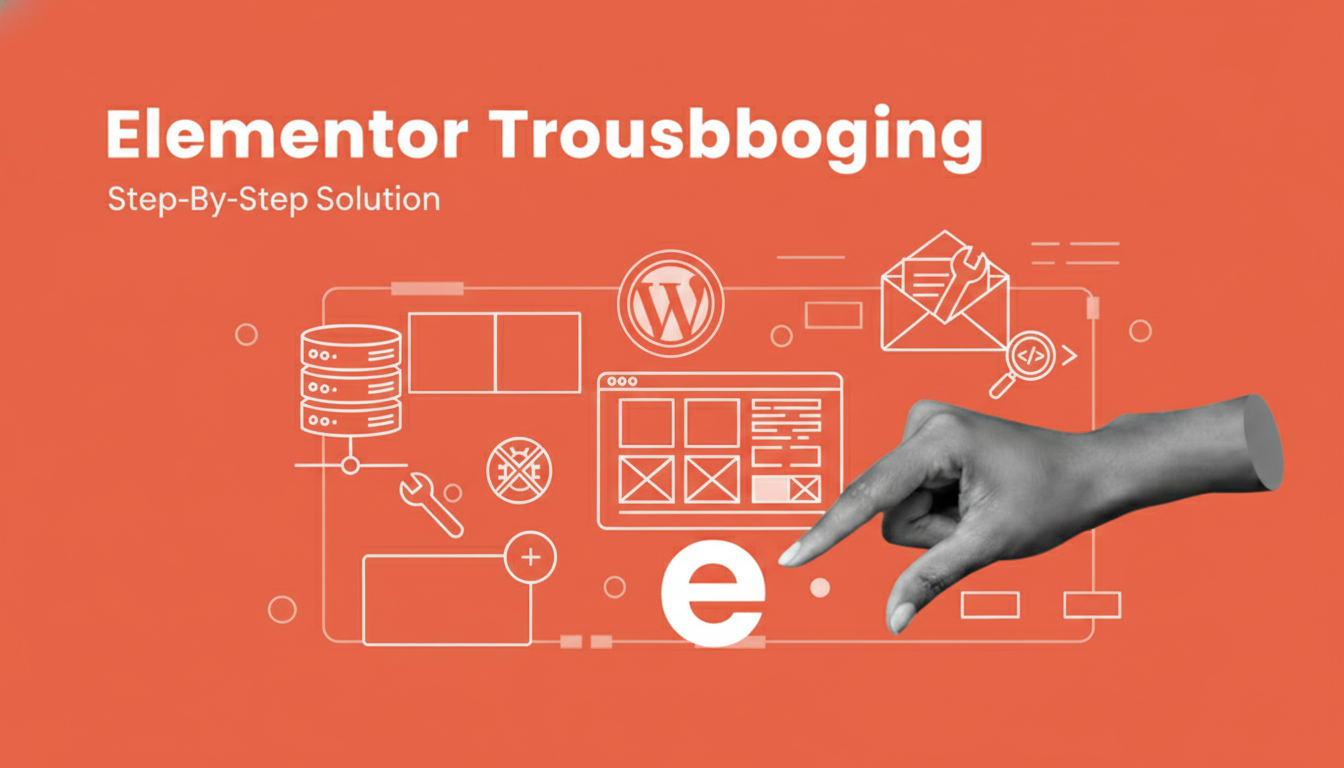
How to Fix Elementor Margin Not Working
Elementor is a powerful page builder for WordPress, empowering millions to create stunning websites without touching a line of code. However, even the most robust tools can encounter glitches. One common frustration users face is when Elementor margin not working as expected. This seemingly simple styling property can sometimes refuse to cooperate, leading to layout issues and a less-than-perfect design.
If you’re pulling your hair out because your margins aren’t applying correctly in Elementor, you’ve come to the right place. This comprehensive guide will walk you through a series of solutions, from basic checks to advanced troubleshooting, ensuring you can regain control over your page layouts. We’ll cover everything you need to know to diagnose and fix the “Elementor margin not working” problem, helping you achieve pixel-perfect designs.
Disclaimer: Always back up your website before making significant changes. This ensures you can easily revert if anything goes wrong. Your hosting provider (like Hostinger!) often provides easy backup solutions, or you can use a WordPress backup plugin.
Understanding Margins and Why Elementor Margin Not Working Can Happen
Before diving into fixes, let’s quickly recap what margins are and why they are crucial for web design. In CSS, margins create space *outside* an element’s border, pushing other elements away. Padding, conversely, creates space *inside* an element, between its content and its border.
When Elementor margin not working properly, it usually boils down to a conflict, an incorrect setting, or a caching issue. Understanding these root causes will help you pinpoint the exact solution.
Common Reasons for Elementor Margin Issues
- Conflicting CSS: Other themes or plugins might be injecting their own CSS that overrides Elementor’s styles.
- Caching Problems: Old cached versions of your page might be preventing new styles from appearing.
- Incorrect Elementor Settings: Accidentally applying negative margins, using absolute positioning, or setting responsive margins incorrectly.
- Theme-Specific Styles: Your WordPress theme might have default styles that interfere with Elementor’s margins.
- Z-index Issues: Less common, but sometimes elements with higher z-index can stack over others, making margin issues appear.
- Browser-Specific Rendering: While rare with modern browsers, inconsistencies can sometimes occur.
Solution 1: Basic Checks and Essential Troubleshooting Steps
Many “Elementor margin not working” issues can be resolved with simple checks. It’s always best to start here before diving into more complex solutions.
1.1 Clear All Caches (Browser, WordPress, CDN)
Caching is a common culprit for styles not appearing. Your browser, WordPress plugins, and even your CDN (Content Delivery Network like Cloudflare) can store old versions of your pages.
Step-by-Step Cache Clearing:
- Clear Browser Cache:
- Chrome: Ctrl+Shift+Del (Windows) / Cmd+Shift+Del (Mac) -> Select “Cached images and files” -> Clear data.
- Firefox: Ctrl+Shift+Del (Windows) / Cmd+Shift+Del (Mac) -> Select “Cache” -> Clear Now.
- Try “Hard Reload” (Ctrl+Shift+R or Cmd+Shift+R) or open your page in an incognito/private browser window.
- Clear Elementor Cache:
- In your WordPress dashboard, navigate to Elementor > Tools > General > Regenerate CSS & Data. Click “Regenerate Files”.
- Then go to Elementor > Tools > General > Sync Library and click “Sync Now”.
- Clear WordPress Cache Plugin:
- If you use a caching plugin like WP Super Cache, WP Rocket, LiteSpeed Cache, or W3 Total Cache, find its settings in your WordPress dashboard (usually in the sidebar or under “Settings”) and click the “Clear Cache” or “Purge All Caches” button.
- Clear CDN Cache (if applicable):
- If you use a CDN service like Cloudflare, log into your CDN account and find the option to purge or clear the cache for your website.
After clearing all caches, reopen your page in an incognito window to see if the Elementor margin not working issue is resolved.
1.2 Double-Check Elementor Margin Settings
It sounds obvious, but sometimes we overlook the simplest settings.
How to Check Elementor Margins:
- In the Elementor editor, select the widget, column, or section you’re trying to adjust.
- Go to the Advanced tab in the left panel.
- Locate the Margin setting under “Layout.”
- Ensure the correct values are entered. Also, check if the “Link values together” icon (chain icon) is active or inactive, depending on whether you want uniform or individual margins.
Also, verify that you haven’t accidentally entered negative margin values that might be collapsing elements unexpectedly, or if the unit (px, em, %, vw, vh) is appropriate for your design.
1.3 Check for Absolute/Fixed Positioning
If an element has absolute or fixed positioning, its margins might behave differently or be ignored relative to its parent container. Absolute-positioned elements are removed from the normal document flow.
How to Check Positioning:
- Select the element in Elementor.
- Go to the Advanced tab.
- Under “Positioning,” ensure “Width” is set to “Default” and “Position” is “Default.”
- If you need absolute or fixed positioning, you’ll need to manually adjust its position using the offset values (top, right, bottom, left) instead of relying solely on margins.
Solution 2: Addressing Theme and Plugin Conflicts
Conflicting code from your theme or other plugins is a very common reason for Elementor margin not working correctly. They might be injecting CSS that overrides Elementor’s styles.
2.1 Temporarily Deactivate Other Plugins
This is a classic troubleshooting step for WordPress issues.
Step-by-Step Deactivation:
- Go to your WordPress dashboard > Plugins > Installed Plugins.
- Deactivate ALL plugins except Elementor and Elementor Pro (if you use it).
- Clear all caches (Elementor cache, WordPress plugin cache, browser cache).
- Check your page in Elementor editor and on the front end (incognito window).
- If the margins now work, reactivate your plugins one by one, clearing caches and checking after each activation until the problem reappears. This will help you identify the conflicting plugin.
2.2 Switch to a Default WordPress Theme
Your theme often dictates foundational styles that can impact Elementor’s rendering. A conflicting theme can also cause Elementor margin not working.
Step-by-Step Theme Switching:
- Go to your WordPress dashboard > Appearance > Themes.
- Activate a default WordPress theme like “Twenty Twenty-Four” or “Twenty Twenty-Three.”
- Clear all caches.
- Check your page. If the margins now apply correctly, your previous theme is likely the cause.
If your theme is the issue, you might need to:
- Contact your theme’s support team.
- Use Elementor’s “Theme Builder” functionality to override theme parts.
- Add custom CSS to specifically target and override the conflicting theme styles (see Solution 4).
Official Documentation: For more details on theme and plugin compatibility, refer to the Elementor Troubleshooting Guide.
Solution 3: Advanced Elementor Settings and Tools
Elementor provides some built-in tools that can help resolve display issues like Elementor margin not working.
3.1 Regenerate CSS & Data
This is Elementor’s specific function to rebuild its internal style files. Sometimes these files can become corrupted or outdated.
How to Regenerate Elementor CSS:
- From your WordPress dashboard, go to Elementor > Tools.
- Under the “General” tab, find “Regenerate CSS & Data.”
- Click the “Regenerate Files” button.
- Clear all website caches (browser, plugin, CDN) and check your page again.
3.2 Switch CSS Print Method
Elementor offers different methods for printing CSS on the front end. Changing this might fix how styles are loaded.
How to Change CSS Print Method:
- Go to Elementor > Settings > Advanced in your WordPress dashboard.
- Find the “CSS Print Method” option.
- Try switching from “External File” to “Internal Embedding” or vice versa.
- Save Changes.
- Clear all caches and check your page.
3.3 Check Elementor System Info
The System Info page can highlight potential environment issues, like low memory limits or outdated software, which could indirectly affect Elementor’s functionality.
How to Access System Info:
- Navigate to Elementor > System Info in your WordPress dashboard.
- Look for any red or orange warnings, especially for PHP Memory Limit. A low memory limit (e.g., less than 128MB, preferably 256MB or more) can cause Elementor to behave erratically.
- Contact your hosting provider (like Hostinger support!) if you need to increase your PHP memory limit.
Solution 4: Using Custom CSS to Override Margins
If all else fails, or if you’ve identified a persistent conflict, applying custom CSS is a powerful way to force your desired margins. This ensures your styles take precedence.
4.1 Identify the Element’s CSS Selector
To apply custom CSS, you need to know which specific element you’re targeting. The browser’s developer tools are indispensable here.
Step-by-Step Using Developer Tools:
- Open your page in a browser (e.g., Chrome, Firefox).
- Right-click on the element that has the “Elementor margin not working” issue and select “Inspect” (or “Inspect Element”).
- In the Developer Tools panel, locate the HTML code for your element. It will likely have classes like `elementor-widget`, `elementor-column`, or `elementor-section`.
- Look for a unique ID (e.g., `id=”elementor-element-xxxxxx”`) or specific classes that apply to that element.
- In the “Styles” tab of the developer tools, you can often see existing margin declarations and which CSS rule is overriding them (indicated by a strikethrough or lower specificity).
For example, you might find a selector like `div.elementor-element-b8d78ee` or `section.elementor-section-wrap`. Aim for the most specific selector you can find without being overly specific (to avoid issues with future updates).
4.2 Add Custom CSS in Elementor or Theme Customizer
Once you have your selector, you can add custom CSS.
Methods for Adding Custom CSS:
- Elementor Custom CSS (for specific elements):
- In the Elementor editor, select the widget, column, or section.
- Go to the Advanced tab > Custom CSS.
- Add your CSS code here. This CSS will only apply to the selected element.
selector { margin-top: 20px !important; margin-bottom: 20px !important; } - WordPress Customizer (for site-wide or specific pages):
- Go to your WordPress dashboard > Appearance > Customize.
- Click on “Additional CSS.”
- Paste your custom CSS here.
.elementor-element-b8d78ee { /* Replace with your specific selector */ margin-top: 30px !important; margin-bottom: 30px !important; margin-left: 0 !important; margin-right: 0 !important; } /* Or target a general type of element */ .elementor-widget-text-editor { margin-bottom: 25px !important; } - Child Theme Stylesheet (recommended for developers):
- If you’re using a child theme,
- If you’re using a child theme,