


Import WooCommerce Products from CSV File with WP All Import
Introduction
Managing a WooCommerce store becomes challenging when you have hundreds or thousands of products. Manually adding products is time-consuming and error-prone. That’s where WP All Import comes in.
WP All Import allows you to import products directly from a CSV or XML file into WooCommerce. You can map fields such as product title, SKU, price, stock, categories, attributes, and even product images.
In this tutorial, we’ll walk through the step-by-step process of importing WooCommerce products from a CSV file using WP All Import.
Step 1: Install and Activate WP All Import
-
Go to your WordPress Dashboard → Plugins → Add New.
-
Search for WP All Import.
-
Install and activate the free version (Pro version recommended for advanced features like variable products).
Step 2: Prepare Your CSV File
Make sure your CSV file has the correct columns. Example structure:
| Product Title | SKU | Price | Stock | Category | Image URL | Description |
|---|---|---|---|---|---|---|
| Blue T-Shirt | TS001 | 15 | 50 | Clothing/Tops | https://yourstore.com/img/blue.jpg | 100% cotton t-shirt. |
| Red Hoodie | HD002 | 35 | 20 | Clothing/Hoodies | https://yourstore.com/img/red.jpg | Warm fleece hoodie. |
✅ Pro Tip: Save your CSV file in UTF-8 format to avoid encoding issues.
Step 3: Create a New Import
-
Navigate to All Import → New Import.
-
Upload your CSV file.
-
Choose New Items → WooCommerce Products.
-
Click Continue to Step 2.
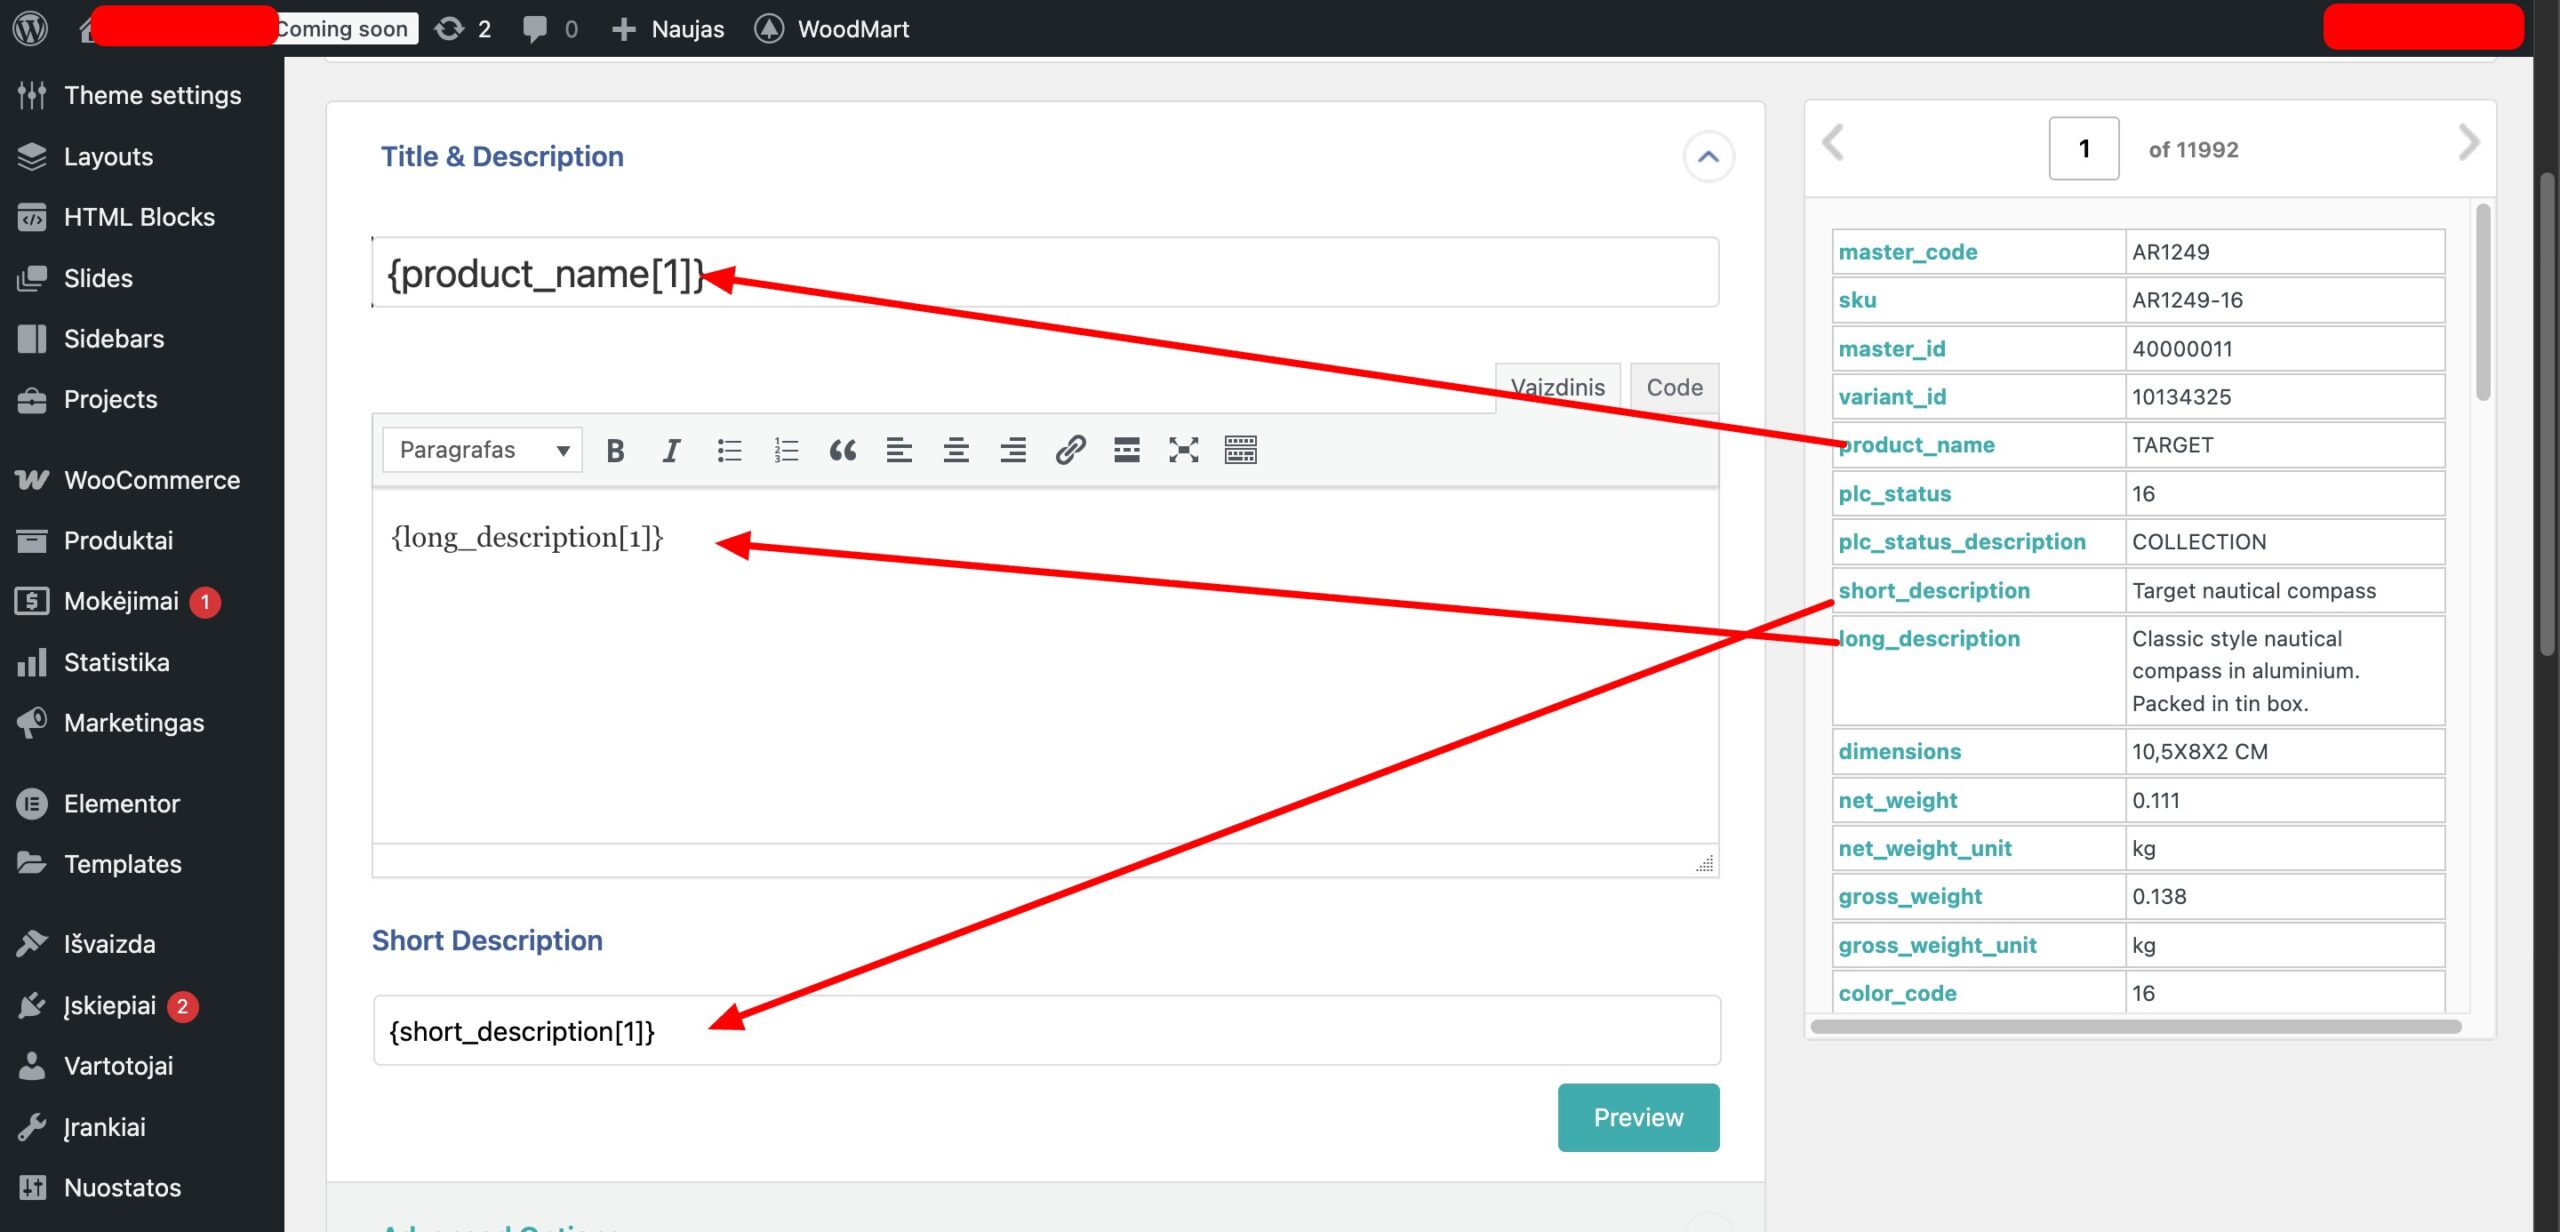
Step 4: Map CSV Columns to WooCommerce Fields
This is where WP All Import shines. You’ll drag and drop fields from your CSV into WooCommerce product fields:
-
Title → Product Title
-
SKU → SKU
-
Price → Regular Price
-
Stock → Stock Quantity
-
Category → Product Categories
-
Image URL → Product Image
-
Description → Product Description
If your CSV includes variable products, you’ll need the WP All Import Pro + WooCommerce Add-On.
Step 5: Configure Product Import Settings
-
Set default values for missing fields (e.g., stock = 0 if not provided).
-
Decide whether to update existing products or only import new ones.
-
Configure image settings (download from URL and assign to product gallery).
Step 6: Run the Import
-
Click Confirm & Run Import.
-
WP All Import will process your CSV file and create WooCommerce products.
-
Once finished, go to Products → All Products to verify.
Step 7: Bulk Update or Schedule Imports (Optional)
With WP All Import Pro, you can:
-
Schedule automatic imports from a remote CSV or XML file (e.g., supplier feed).
-
Bulk update existing products (price, stock, descriptions).
Benefits of Using WP All Import
-
Saves time with bulk uploads.
-
Handles simple and variable products.
-
Supports custom fields and taxonomies.
-
Works with external image URLs.
-
Compatible with large CSV files (100k+ products).
FAQs
1. Can I import variable products?
👉 Yes, but you’ll need the WP All Import Pro + WooCommerce Add-On.
2. What if my CSV has external image URLs?
👉 WP All Import downloads images automatically and assigns them.
3. Can I update existing products with a CSV?
👉 Yes, by matching on SKU or Product ID.
Final Thoughts
Importing WooCommerce products manually is not scalable. With WP All Import, you can bulk-import thousands of products from CSV with just a few clicks.
If you’re running a dropshipping store or working with suppliers, WP All Import is a must-have tool for syncing inventory and updating product data efficiently.
👉 Related Guides: