


“`html
body { font-family: Arial, sans-serif; line-height: 1.6; color: #333; }
.container { max-width: 900px; margin: auto; padding: 20px; }
h1, h2, h3 { color: #1a1a1a; }
h1 { font-size: 2.5em; }
h2 { font-size: 2em; border-bottom: 2px solid #eee; padding-bottom: 10px; margin-top: 30px; }
h3 { font-size: 1.5em; margin-top: 25px; }
p { margin-bottom: 15px; }
ul { list-style-type: disc; margin-left: 20px; margin-bottom: 15px; }
ol { list-style-type: decimal; margin-left: 20px; margin-bottom: 15px; }
li { margin-bottom: 8px; }
code { background-color: #f4f4f4; padding: 2px 4px; border-radius: 4px; font-family: ‘Courier New’, Courier, monospace; }
pre { background-color: #f4f4f4; padding: 10px; border-radius: 5px; overflow-x: auto; margin-bottom: 15px; }
.note { background-color: #e6f7ff; border-left: 5px solid #007bff; padding: 15px; margin-bottom: 20px; border-radius: 5px; }
.tip { background-color: #fff3e0; border-left: 5px solid #ff9800; padding: 15px; margin-bottom: 20px; border-radius: 5px; }
a { color: #007bff; text-decoration: none; }
a:hover { text-decoration: underline; }
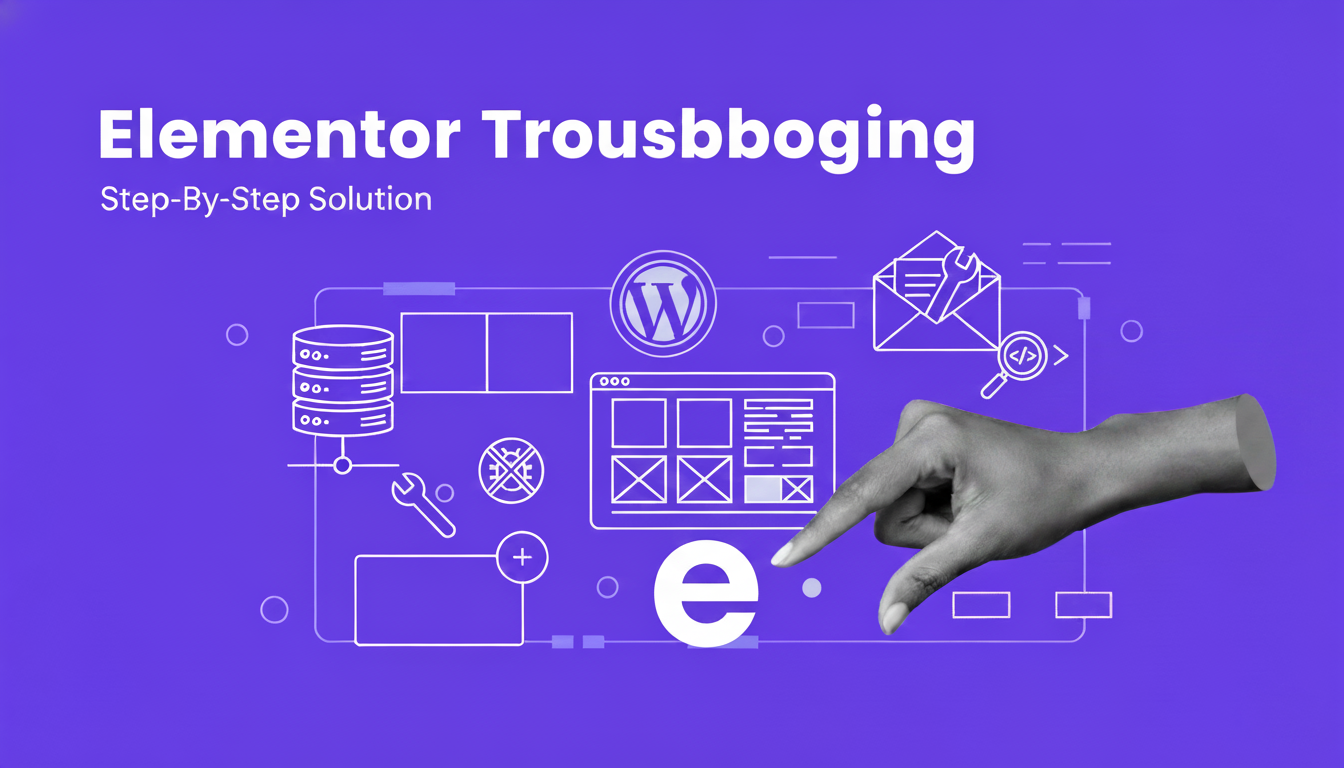
How to Fix Elementor Custom CSS Not Working
Elementor is a fantastic page builder that empowers you to create stunning websites without writing a single line of code. However, for those who love to fine-tune their designs or implement custom functionalities, Elementor’s Custom CSS feature is an absolute lifesaver. It allows you to inject your own styles directly into elements, sections, or even sitewide. But what happens when you confidently add your beautiful CSS, hit publish, and… nothing? Your Elementor custom CSS not working can be a frustrating experience.
You’re not alone! This is a common hiccup that many Elementor users encounter. The good news is that most cases of Elementor custom CSS not working can be resolved with a few targeted troubleshooting steps. In this comprehensive guide, we’ll explore the most common reasons why your custom CSS might not be applying and provide you with a step-by-step roadmap to get your styles working perfectly again.
Why Elementor Custom CSS Might Not Be Working
From caching conflicts to selector specificity, there are several reasons why your Elementor custom CSS might fail to render. Understanding these underlying causes is the first step toward a solution.
Understanding Elementor Custom CSS and Where It Lives
Before we dive into troubleshooting, let’s quickly review where you can add custom CSS in Elementor:
- Element-level Custom CSS: Applies styles specifically to the selected widget. You’ll find this under
Advanced > Custom CSSfor each widget. - Section/Column-level Custom CSS: Targets styles within a specific section or column. Accessed via
Advanced > Custom CSSfor the section/column. - Page-level Custom CSS: Affects elements on the entire page. Go to
Page Settings (gear icon) > Advanced > Custom CSS. - Global Custom CSS (Theme Style / Custom Code): For sitewide changes, Elementor Pro users can utilize
Elementor > Custom Codeor theSite Settings > Custom CSSunder the Theme Style. Alternatively, you can use the WordPress Customizer (Appearance > Customize > Additional CSS).
Each of these locations has different levels of specificity and scope, which is crucial for troubleshooting why your Elementor custom CSS is not working.
Common Reasons Why Your Elementor Custom CSS Not Working
Let’s break down the most frequent culprits behind custom CSS issues in Elementor:
1. Caching Conflicts are Preventing Elementor Custom CSS from Loading
Caching is a common reason for Elementor custom CSS not working. Caching plugins (like WP Super Cache, LiteSpeed Cache, W3 Total Cache), server-side caching (from your hosting provider like Hostinger), and even browser caching can sometimes serve an older version of your page, ignoring your latest CSS changes.
How to Clear Caches to Fix Elementor Custom CSS Not Working:
- Clear Elementor Cache:
- In your WordPress dashboard, navigate to
Elementor > Tools > Regenerate Files & Data. Click Regenerate Files & Data. - Then, go to
Elementor > Tools > Sync Library. Click Sync Library.
- In your WordPress dashboard, navigate to
- Clear Your Caching Plugin’s Cache:
- Access your caching plugin’s settings (e.g.,
WP Rocket > Clear Cache,LiteSpeed Cache > Purge All, or similar). - Look for options like “Clear Cache,” “Purge All,” or “Delete Cache Files.”
- Access your caching plugin’s settings (e.g.,
- Clear Server-Side Cache:
- If your hosting provider (like Hostinger) offers server-side caching, log into your hosting control panel (e.g., hPanel, cPanel) and look for a caching management section. Clear any site caching, object caching, or Varnish cache.
- Refer to your hosting provider’s documentation for specific steps. Hostinger users can find relevant guides in their Hostinger Tutorials.
- Clear Browser Cache:
- For Chrome:
Ctrl + Shift + Del(Windows) /Cmd + Shift + Del(Mac) > Select “Cached images and files” > Clear data. - Visit your page in an incognito/private window to bypass browser cache entirely.
- For Chrome:
2. Incorrect CSS Syntax or Typos are Causing Elementor Custom CSS Issues
Even a single misplaced semicolon or bracket can break your entire CSS rule. This is a very common reason why Elementor custom CSS is not working.
How to Check CSS Syntax for Elementor Custom CSS Not Working:
- Review Your Code Carefully: Double-check every character, paying close attention to curly braces
{}, semicolons;, and colons:. - Use a CSS Validator: Copy your custom CSS into an online validator tool (e.g., W3C CSS Validation Service) to identify syntax errors.
Tip: Start with a very simple CSS rule, like .my-class { background-color: red !important; }, to ensure the custom CSS area is working at all. If this works, your issue is likely with your specific CSS code.
3. Selector Specificity Conflicts
CSS specificity determines which styles apply when multiple rules target the same element. A more specific selector will override a less specific one. If your Elementor custom CSS not working, it might be due to a less specific selector than an existing rule.
How to Address Selector Specificity for Elementor Custom CSS:
- Inspect Element:
- Right-click on the element you’re trying to style on your live page and select “Inspect” (or “Inspect Element”).
- In the developer tools, navigate to the “Styles” tab. You’ll see all CSS rules applied to that element, ordered by specificity.
- Look for your rule. If it’s there but crossed out, another rule is overriding it.
- Increase Specificity:
- Use more specific selectors: Instead of
.my-class, try.elementor-widget-heading .my-classor combine with HTML tags:div.my-class. - Add an ID: If applicable, use an ID selector (
#my-id), which has very high specificity. However, IDs should be unique per page. You can add a CSS ID to an Elementor widget/section underAdvanced > CSS ID. - Use the
!importantrule (use sparingly!): While it can force a style to apply, overusing!importantmakes your CSS difficult to maintain. Add it like this:property: value !important;
- Use more specific selectors: Instead of
- Utilize Elementor’s Built-in Selectors:
When writing custom CSS in Elementor’s
Custom CSSfield (for an element, section, or page), you can often use a self-referencing selector likeselectoror.elementor-element-YOUR_ELEMENT_ID. Elementor automatically replacesselectorwith the unique class or ID of the current element. For example:selector { border: 2px solid blue; } selector .my-inner-class { color: green; }You can find the unique ID of an Elementor element by going to
Advanced > CSS IDor by inspecting the element code.
Official Elementor Documentation: For more on Custom CSS, check the Elementor Custom CSS documentation.
4. Elementor Custom CSS Not Working Due to Plugin/Theme Conflicts
Other plugins or your WordPress theme might have their own CSS that clashes with yours, leading to unforeseen issues with your Elementor custom CSS.
How to Identify and Resolve Plugin/Theme Conflicts:
- Temporarily Deactivate Plugins:
- Deactivate all plugins except Elementor and Elementor Pro (if you have it).
- Check if your custom CSS now works. If it does, reactivate plugins one by one, checking your CSS each time, until you find the culprit.
- Once identified, look for alternative plugins or contact the plugin developer for support.
- Switch to a Default Theme:
- Temporarily switch your theme to a default WordPress theme like Twenty Twenty-Four.
- Check if your custom CSS appears. If it does, your current theme is likely causing the conflict. Contact your theme developer.
- Important: Perform these tests on a staging site first, not your live production site, to avoid disrupting your visitors.
- Check Plugin/Theme Compatibility: Review the plugin and theme documentation for known compatibility issues or specific ways to integrate custom CSS without conflicts.
5. Incorrect Placement of Custom CSS
Where you place your CSS matters significantly. If your Elementor custom CSS not working, it might be in the wrong spot.
Correct Placement Strategies:
- Element-level CSS: Only applies to that specific element.
Edit Widget > Advanced > Custom CSS - Section/Column-level CSS: Affects elements within that section/column.
Edit Section/Column > Advanced > Custom CSS - Page-level CSS: Applies to the entire page.
Page Settings (gear icon bottom left) > Advanced > Custom CSS - Global CSS (Site-wide): For styles that apply across your entire website.
- Elementor Pro Global Custom CSS:
Elementor > Custom Code > Add New(select “Custom CSS”) orSite Settings > Custom CSS. This is generally the best place for sitewide Elementor-specific styles. - WordPress Customizer:
Appearance > Customize > Additional CSS. This is a reliable place for general WordPress custom CSS. - Child Theme Stylesheet: For more advanced users. If you’re using a child theme, you can add your custom CSS to its
style.cssfile. This is ideal for theme-level overrides.
- Elementor Pro Global Custom CSS:
Recommendation: Use the most localized custom CSS option available that still achieves your goal. For instance, if a style only affects one button, put the CSS directly on that button. If it affects all buttons of a certain class across the site, use Elementor Pro’s Global Custom CSS or the WordPress Customizer.
6. Missing or Incorrect Element Classes/IDs
Your CSS needs to target specific elements using their classes or IDs. If the class or ID in your CSS doesn’t match the element you’re trying to style, your Elementor custom CSS will not work.
How to Verify Element Classes/IDs:
- Inspect Element: Use your browser’s developer tools (right-click > Inspect) to examine the HTML structure of the element you want to style.
- Match Classes/IDs:
- Look for the
classattribute (e.g.,<div class="my-custom-div another-class">) oridattribute (e.g.,<h2 id="my-heading">). - Ensure your CSS selector precisely matches these. For classes, use a dot (
.my-custom-div); for IDs, use a hash (#my-heading).
- Look for the
- Adding Custom Classes/IDs in Elementor:
- Select the widget, column, or section.
- Go to
Advanced > CSS Classes(for multiple classes separated by spaces) orAdvanced > CSS ID(for a single unique ID).
7. Update Issues and Compatibility
Outdated Elementor, WordPress, or even theme and plugin versions can lead to unexpected behavior, including your Elementor custom CSS not working as expected. Compatibility issues are common culprits.
How to Ensure Everything is Up-to-Date:
- Backup Your Website: Always create a full backup before performing any updates. Hostinger users can easily do this via their hPanel.
- Update WordPress: Go to
Dashboard > Updates. - Update Elementor and Elementor Pro: Navigate to
Plugins > Installed Pluginsand update Elementor and Elementor Pro if new versions are available. - Update Your Theme and Other Plugins: Ensure all other components are also running their latest versions.
- Check Plugin/Theme Compatibility: Review the changelogs or support forums for Elementor, your theme, and other critical plugins to check for known conflicts or recommended versions.
Common Issues and Troubleshooting for Elementor Custom CSS Not Working
Problem: Custom CSS Works in Elementor Editor but Not on Live Site
This is almost always a

WordPress Website Very Slow – fixed it now.
WordPress Website Very Slow Nothing frustrates visitors more than a slow-loading website. In today’s fast-paced online world, every second counts. According to Google, a delay
WordPress Not Saving Changes Fix
WordPress Not Saving Changes Fix You hit Update on a post or tweak settings in the Customizer, but nothing changes. Or worse, WordPress says the


